Showing posts with label French Linen. Show all posts

Tuesday, November 22, 2016

Les Deux Oiseaux Bistro


Les Deux Oiseaux Bistro on a surprisingly warm day in November. The perfect day to enjoy an 
al fresco meal of crusty bread, bleu cheese and fruit. 


I am learning that my trash-to-treasure posts are very popular. And this one definitely started out as trash. 

If you recall, the house came with 2 ugly boring lamps sitting on 2 even less attractive TV trays. You can look HERE to see what I did with the lamps. 


The TV trays were never very fine. The top is a plastic surface meant to look like parquet, I guess. The legs are starting to rust. 


The underside gives a really good idea of the condition and a look at the original masonite. 


I started by painting the top with Annie Sloan Chalk Paint in Old White. This took 2 coats.


I wanted this to have a weathered look, so I used the blow dryer to create a cracked finish. That discoloration is rust or mold or something bleeding through the paint. This probably sounds strange, but I like the discoloration.


I wanted to make these look like signs so I could hang them on the side of the house when they are not in use - decorative and functional!

To find printable French signs, I went HERE

Since I was going to be applying the image face down, I selected two that were mirror images with words and pictures. To make my selection, I printed out all the ones I liked and held them up to the window so I could read the words. Don't skip this step or you could have a surprise. This one of The Two Birds Bistro was my favorite! I also like the sign for Patisserie (Bakery) & Confiserie (Sweet shop). You can see the second one behind.

I printed out my two choices large enough to fill an 8.5 x 11 piece of paper. Then I took them to the office supply store and had them enlarged to 11 x 17. This is just regular laser jet printing.


I applied another coat of paint, just where the paper would be. I put the paper face down on the wet paint, covered it with a piece of plastic wrap for protection,  and then made sure all the air bubbles were out by using an old wallpaper roller I had. I let it dry COMPLETELY - about 4 hours. 


Now the fun part! I just spritzed it with water and rubbed the paper away with my fingers.

Sorry, I forgot to take a picture of the black painting. I used some of my old chalk board paint to cover the rusty fake gold on the legs and edge of the top. 


You can see how the paper comes off to reveal the printing that has stuck to the paint.


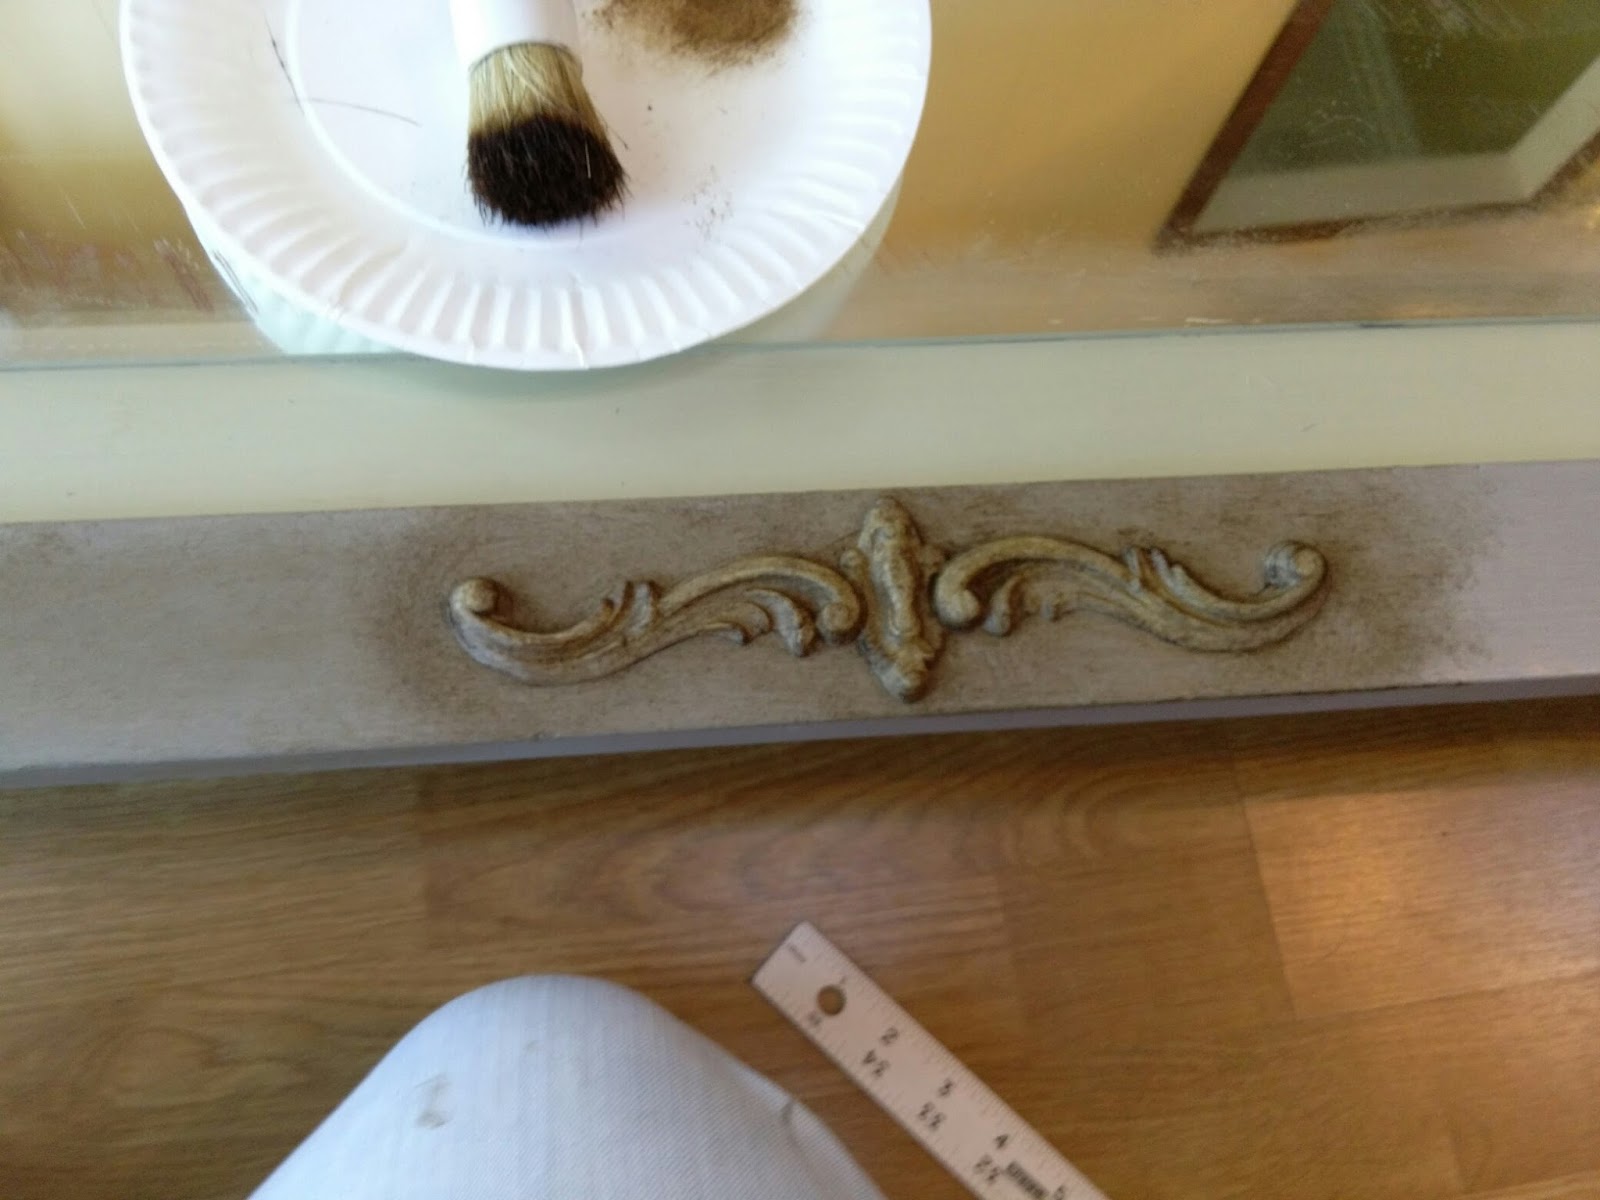
I used a pencil to sketch a faint line where I wanted to create an edge, then used an old artist's brush to paint on the French Linen. It is freehand, so the look is rustic.


I wanted to make the Old White a little more gray and make the cracking stand out, so I did a wash with half water and half Paris Gray, quickly wiping away as I did it in two stages. Because I plan on using these outside, I did not use dark wax. I don't know what it would do, but wax is not recommended for exterior use.


I had to work quickly, so there is not a picture. But you can see the shadows it created here.


Now it's time to relax and enjoy a light meal before I attack the Patisserie Confiserie sidewalk table. I thought they deserved a new name!


Monday, October 17, 2016

The Mirror with a French Touch


Think I rescued this from an old chateau? I'll tell you the real story.


My mom rescued the mirror from a church yard sale ... for all of $1. Notice the glass around the mirror. Not sure why.  And whatever glue they used to stick the mirror to the glass has caused some damage to the reflection. The wood trim was originally that strangely patterned brown stain you see at the bottom.  The white is just where I cleaned my brush off on the wood. What is it about ugly stuff that makes me want to start with the graffiti?

My thought was to use Efex bendable furniture molding to transform this from the 1970's to the 1770's. I drove out to the Empty Nest in Warrenton, VA. They are my closest Efex dealer and still about an hour away. But the drive was worth it to meet Janet and her wonderful staff. I have been cyber-stalking them for months and knew they would be able to give me the inspiration I needed. They took the moldings out of the packaging to let me play with them and even let me cut a frame into pieces before I paid for it! 

I ended up with two Efex frames (F15), two cans of Annie Sloan Chalk Paint in French Linen and Versailles, and the seed of a plan. 


The first step was to paint the glass with ASCP in Versailles. Yes, you can paint glass with this paint. Amazing, huh?


The second step was to paint the wood with ASCP in French Linen. 


The next morning all was dry and ready for some fun. Here is the frame before I deconstructed it.


This was my original plan, but I thought I better make sure. Looking pretty good. But what if I put more of the decoration at the top?


I'm liking this better. But it feels a little top-heavy.


 Now we're talkin'.

But the short pieces are not doing it for me. My original thought had been to cut apart the four sides, but I decide to cut the short sides in two also, leaving me with 2 large pieces and 4 small pieces from each frame. 


I think it is best to stretch the material and then make the cut with scissors.


You can see how each of the short sides can become two pieces that are mirror reflections. The edges are a bit blunt, but that is easily fixed with the scissors.


You can see the little crumbs that I trimmed away.


After I finish all the cuts, I have four pairs of leaves and four large pieces for the top, bottom and 2 sides.


I first put all four of one shape together, but it reminds me of a bad '80s hairdo.


Alternating is definitely much preferable.


Time to glue. There are loads of tutorials out there, but the short story is: trace the shape with a pencil, apply contact cement to the back of the Efex and where you are going to attach it, let dry 15 - 20 minutes, press the piece on. Done.


Next I apply a second coat of ASCP in French Linen, covering the moldings too.


Here's the truth -Not real sure what I'm going to do next. So I put a touch of ASCP in Versailles on the molding and apply Annie Sloan Clear Wax.  Hmm. Now what?


 I want it to look really old, so I start with some Annie Sloan Dark Wax and rub it back as I go. Again, there are lots of videos on how to apply the clear and dark waxes. Watch those if this is new to you.

 I'm liking the look so I keep going, covering both the French Linen and the Versailles, adding extra in corners and around the molding, like hundreds of years of dust and grime are covering this thing.


Then I apply gilding wax to the moldings. This is getting fun!


And the close-up.


 It turned out even better than I imagined.

I am thinking about using it at the top of the stairs. Or maybe near the front door.